


PowerShell As Admin Mac OS Shortcut
This is just a quick article to show you how to create a desktop shortcut to always run PowerShell as admin on Mac OS.
Create a text file with the following contents using TextEdit (in plain text):
#!/bin/bash
sudo pwsh
Save the file in plain text on your desktop as anything you like, for this example I’ll call it PowerShellAdminShortcut.txt
You now need to remove the “.txt” file extension from the file if you weren’t able to save it without it already, if so skip this step and related sub-steps. To do this, follow the below:
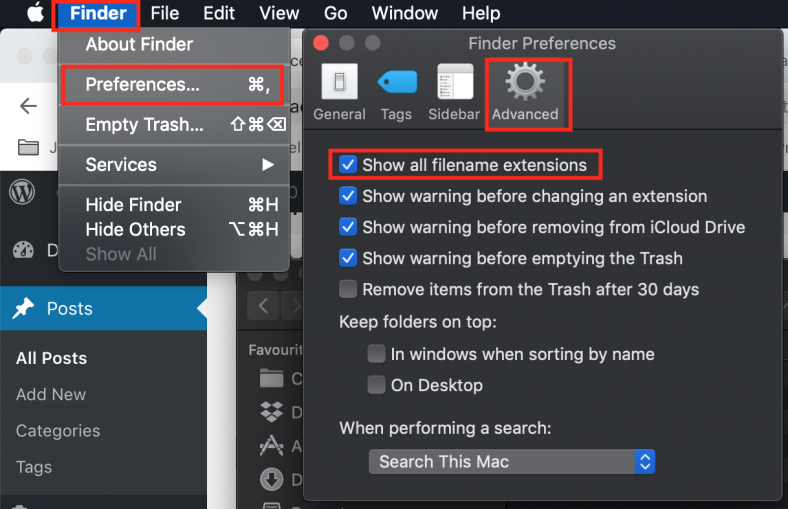
- Open Finder
- Open Finders’ preferences
- Select the Advanced tab and the check the box “Show all filename extensions”
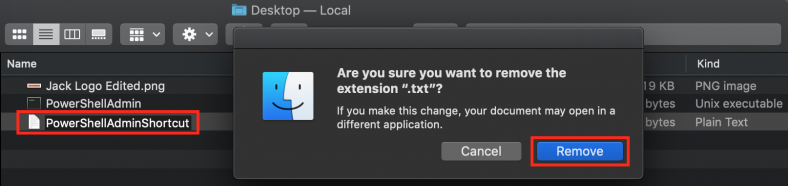
Now rename the file you created at the beginning of this process and remove the file extension “.txt”
Now open the Terminal app and run the following commands (please replace the file path with where you have placed your file):
1cd /Users/jacktracey/Desktop
2chmod 744 PowerShellAdminShortcut
You should now have a shortcut on your desktop that launches PowerShell as admin (sudo) on your Mac
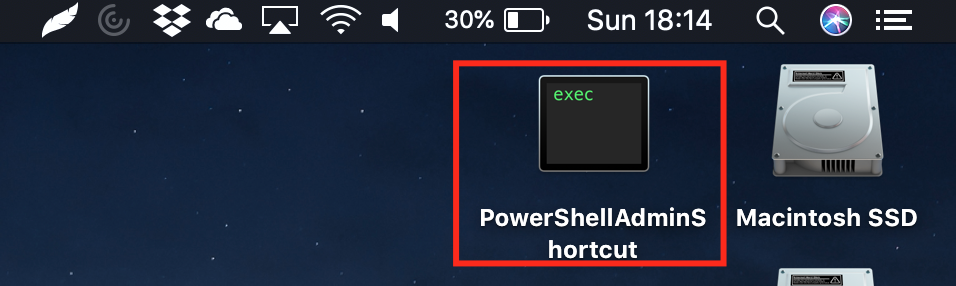
Hope this helps some of you out there as now all you need to do is double click this shortcut and enter your user account password and job done!