


Using a Managed SSL Certificate with Azure CDN (Microsoft) on a Root Apex Domain
Now you may be reading the title of this post and thinking I’ve gone mad as the Microsoft Docs pages saying this isn’t something you can do!

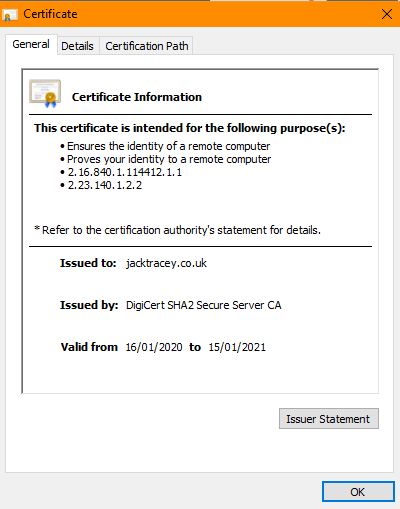
However if you are reading this on my blog, then if you take a look at the SSL certificate on the blog (which is fronted by Azure CDN on the Microsoft plan), you’ll notice 2 things:
- It’s a valid SSL certificate issued from DigiCert
- It is for my root/apex domain
So as you can see, it certainly can be done and made to work on root/apex domains.
Why did you even try this?
Well firstly, I like a challenge and a problem to solve. It’s just the kind of person I am.
Plus I’d heard some rumours on other blogs that this may be possible, so I thought I’d clarify for myself.
And lastly, hardly anyone uses the ‘WWW’ prefix on their domains for hosting their websites on these days, and I certainly didn’t want to. Especially as I was migrating my blog, I didn’t want existing links I had posted and shared to break.
Following on from that I didn’t want to have to manage the SSL certificate and handle that process every 1 or 3 years; plus the cost of the SSL certificate itself!
So how do you do this?
Okay so here are the steps that I followed to get Azure CDN (Microsoft Standard plan) to issue me a managed SSL certificate for my root/apex domain name.
For all of the steps below I’m assuming you have a domain name purchased and can make changes to the DNS records for the domain. As well as able to receive e-mails to the following addresses on your domain (this is critical):
- admin@YOURDOMAINNAME.CO.UK
- adminsitrator@YOURDOMAINNAME.CO.UK
- webmaster@YOURDOMAINNAME.CO.UK
- hostmaster@YOURDOMAINNAME.CO.UK
- postmaster@YOURDOMAINNAME.CO.UK
I’ll also reference my domain name as an example through, so please just replace this with your own domain!
Create a CDN profile in the Azure Portal
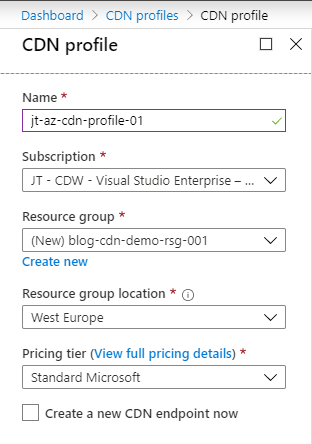
Select the “Standard Microsoft” pricing tier - I have only tested this on this pricing tier
Don’t create the CDN endpoint at this time
Once the CDN profile has created itself, create the CDN Endpoint within the profile
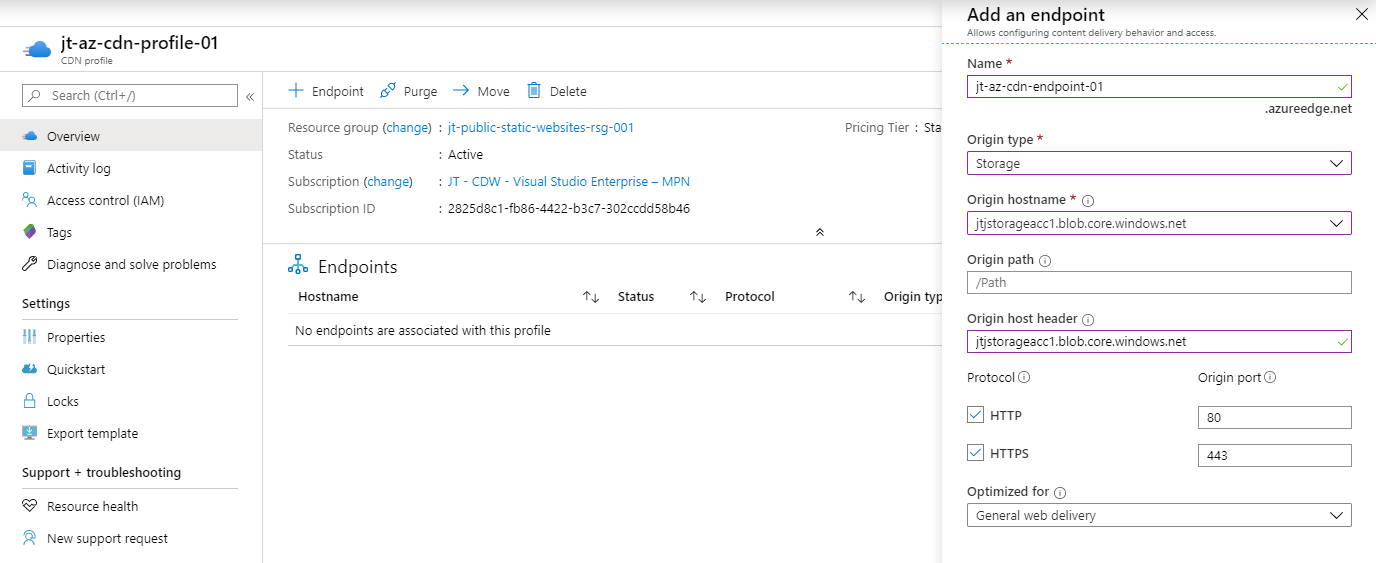
The CDN Endpoint Origin is not important to the SSL Certificate process, so I’m just using a storage account.
Once the CDN Endpoint has created itself, login to your DNS providers control panel
I use Azure DNS for most of my domains now, especially as they support ALIAS DNS records
Create a CNAME record on the domain you want to get the SSL Certificate for and use for the CDN Endpoint
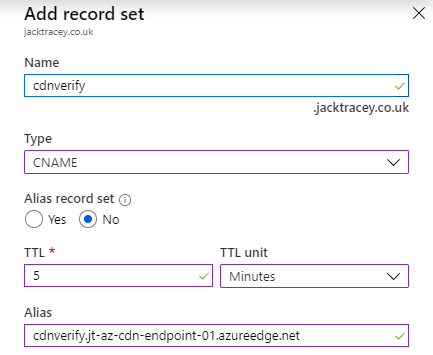
- The CNAME record name should be: ‘cdnverify’
- The entire record should show as: ‘cdnverify.YOURDOMAINNAME.CO.UK’
- The CNAME record should point to the CDN Endpoint hostname, with ‘cdnverify’: ‘cdnverify.YOURCDNENDPOINTHOSTNAME.azureedge.net’
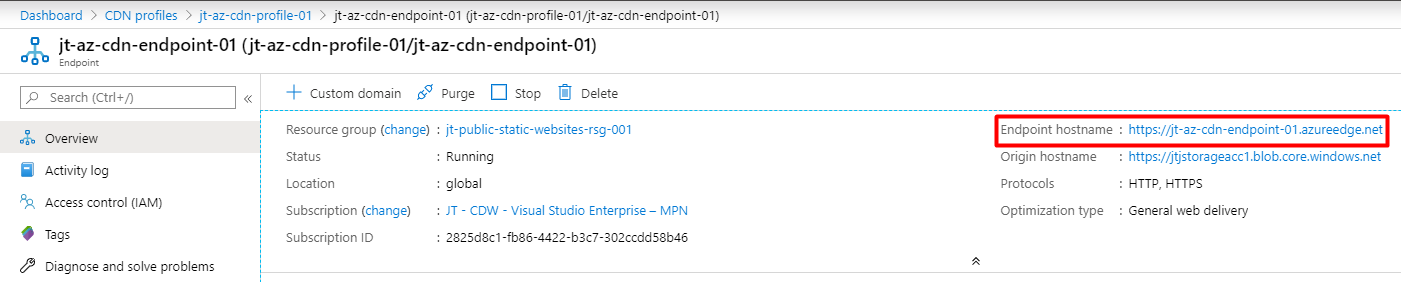
You can find the CDN Endpoint Hostname on the main blade of the resource, then just replace ‘https://’ with ‘cdnverify’
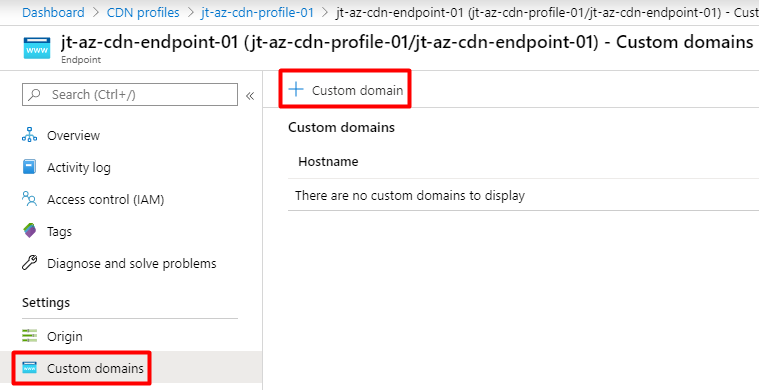
Now add the Custom Domain to the CDN Endpoint
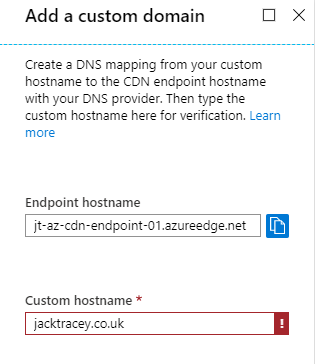
As you can see I have got a validation error here on the custom hostname. This is because I haven’t actually created the CDN verify CNAME DNS record on my domain as I showed in step 4.
This validation test actually checks for the existence of the ‘cdnverify DNS record pointing to the CDN Endpoint or the custom domain itself (without the ‘cdnverify’). So you will know if your DNS record was created successfully when you get to this stage.
So if this errors as mine has, please go and check the DNS record is correct and has propagated, this can take a few hours depending on your DNS provider.
Once you have added the Custom Domain to the CDN Endpoint then you can enable HTTPS for the Custom Domain.
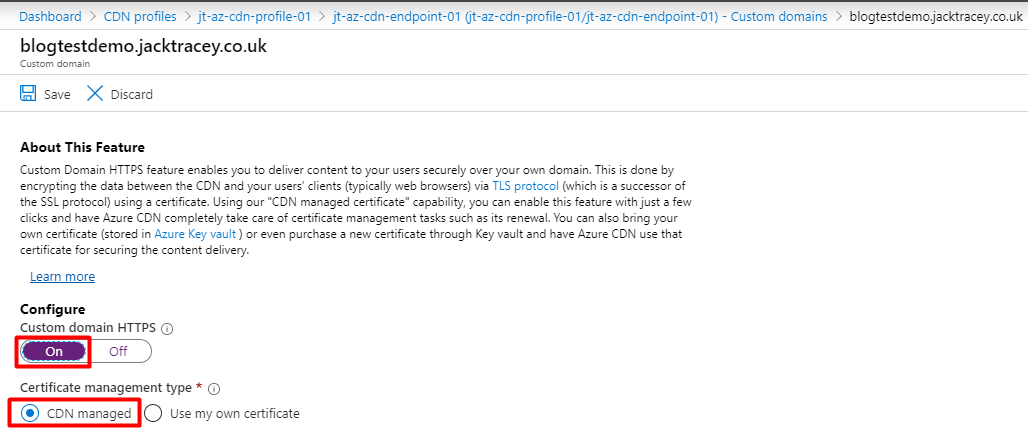
As you can see you just need to do the following:
- Set the ‘Custom Domain HTTPS’ slider to ‘On’
- Set the ‘Certificate Management Type’ to ‘CDN Managed’
- Click Save at the top of the blade
Now you need to wait for an e-mail to one of the addresses on your domain that I listed above step 1.
This can take up to 24 hours to arrive, so be patient!
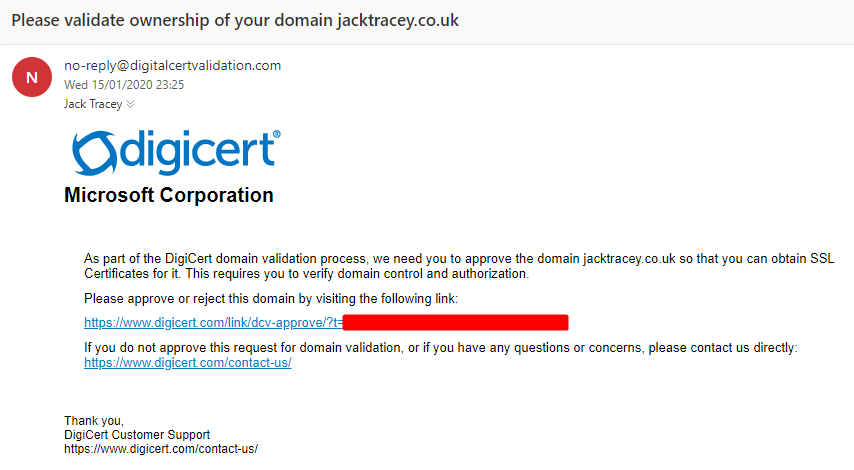
Click the link in the e-mail and follow the steps shown to approve the validation/ownership of the Custom Domain and SSL creation
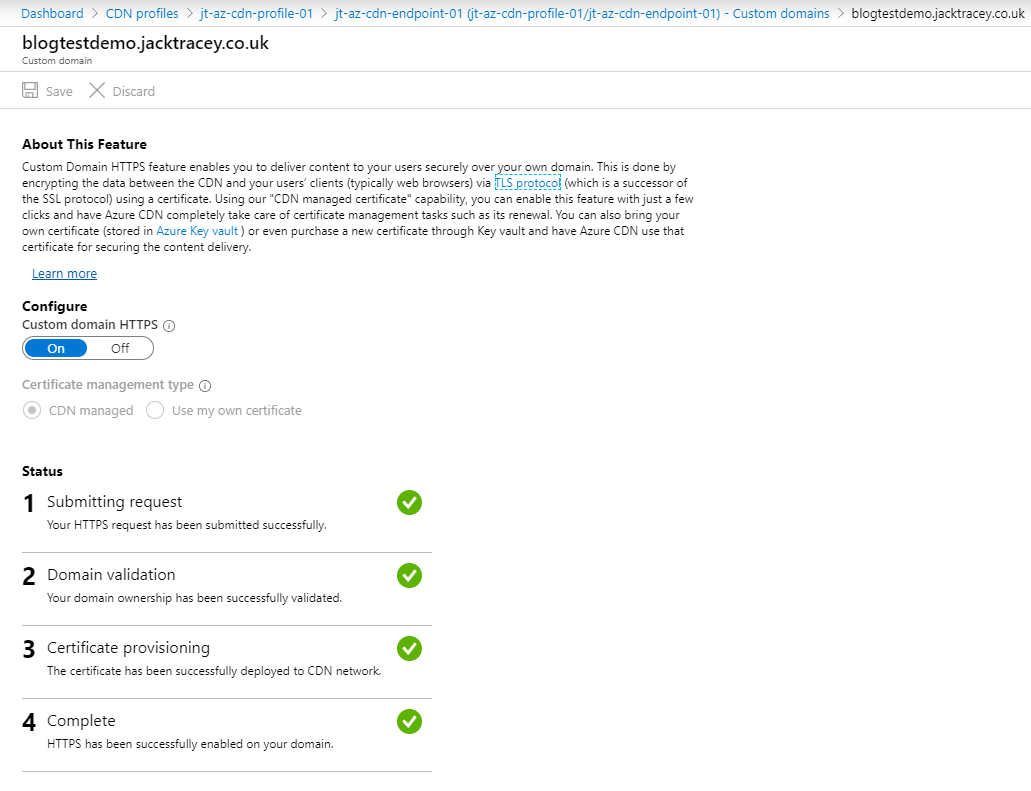
Wait for the SSL Certificate to be created, issued and propagated to your CDN Endpoints
This can take up to 6-8 hours
You can check the status of this process in the Custom Domain blade
Test the SSL Certificate is presented on your Custom Domain when browsing to it
Summary
I hope this helps a few of you out there that want to use Azure CDN for your website with a Managed SSL certificate on your root/apex domain.
As always leave any comments below!